个人博客搭建
hugo + GitHub Pages/云服务器
以下仅为个人搭建记录,仅供参考
本来是写在微信公众号上的,后门租了服务器就整服务器上了,结果没注意服务器到期了……遂重新开到GitHub Pages上
本地hugo
先在Windows主机上创建一个文件夹用于放hugo
打开powershell
winget install Hugo.Hugo.Extended
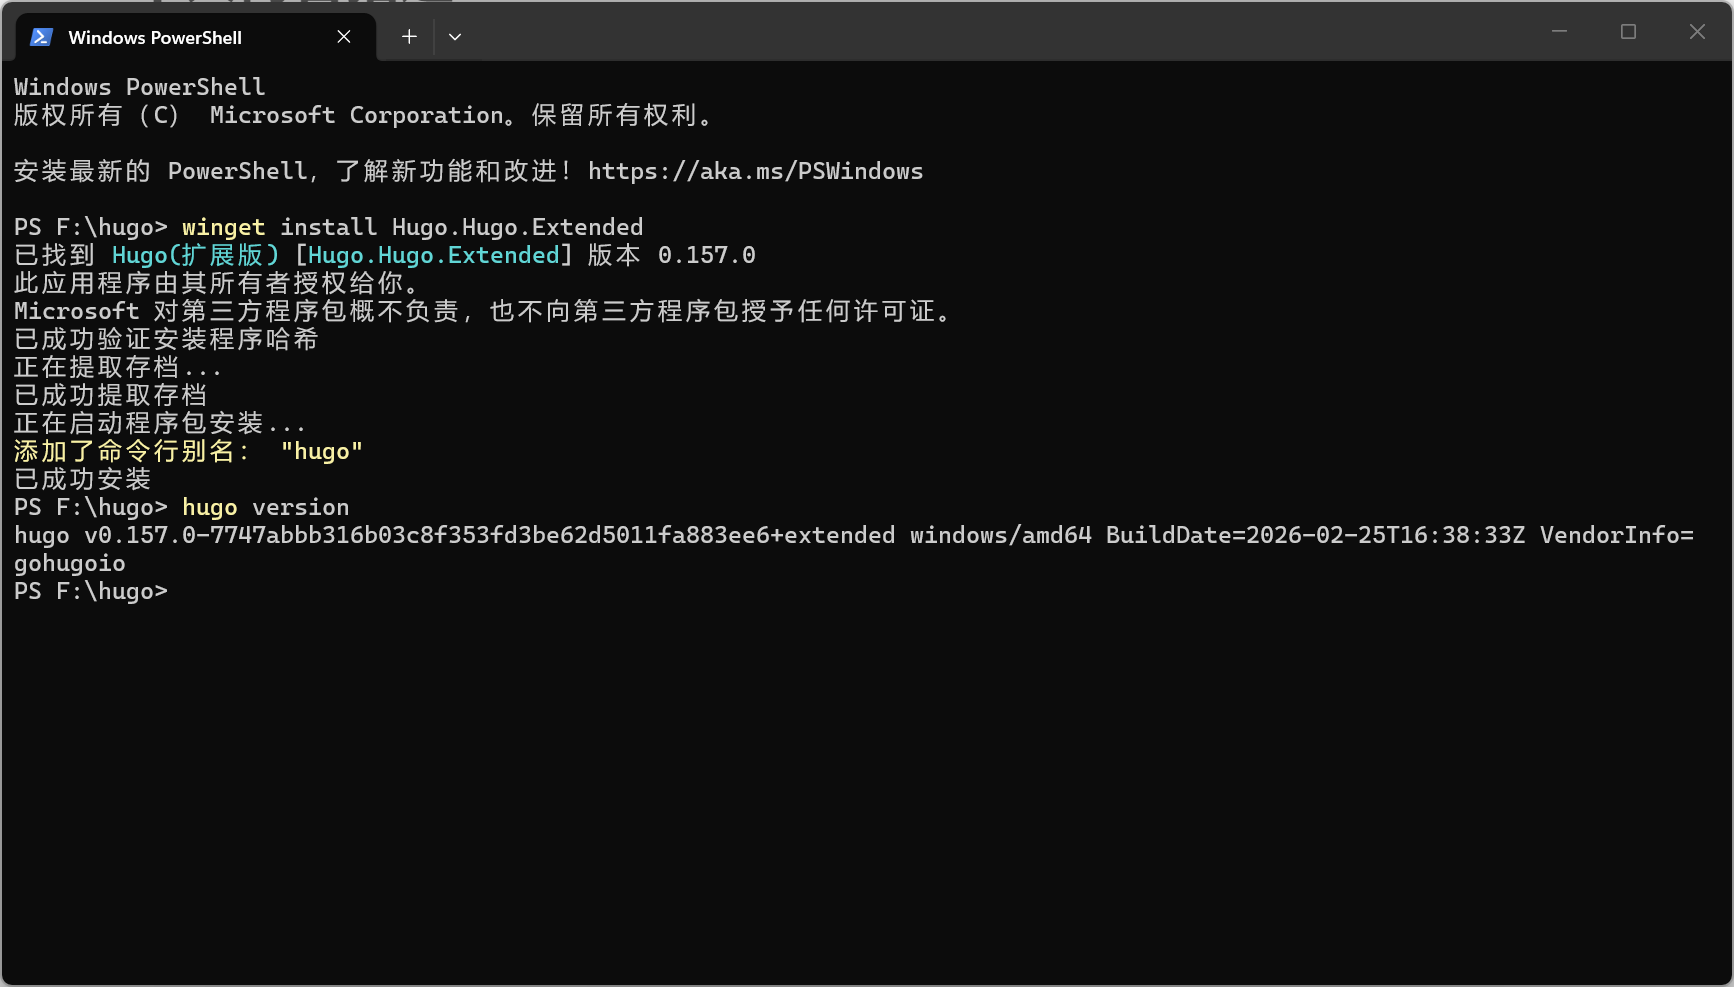
如是,hugo安装完成,下一步初始化
hugo new site . --force
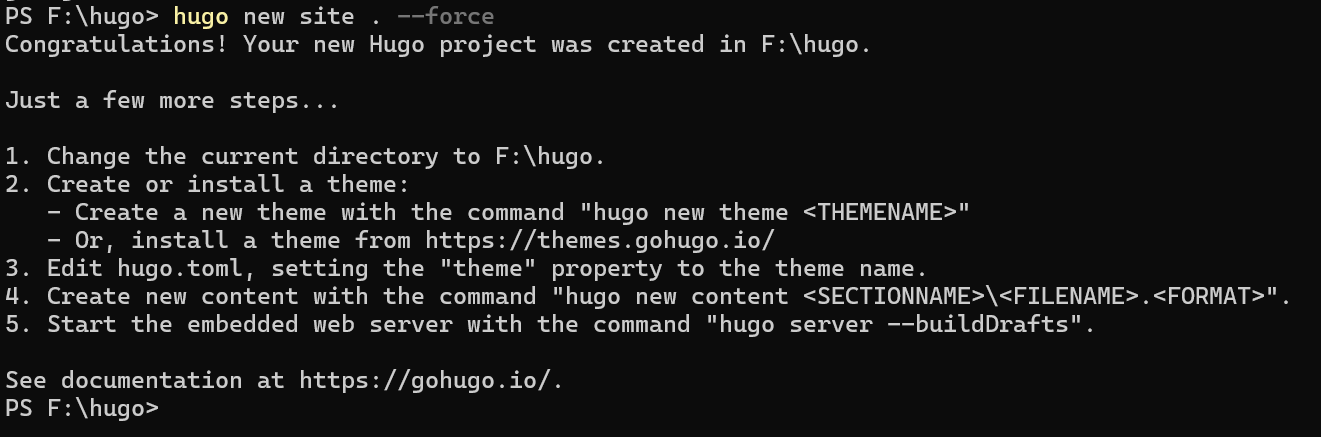
GitHub仓库-hugo源码
在GitHub上创建一个私有仓库,用于存放hugo源码以及文章草稿
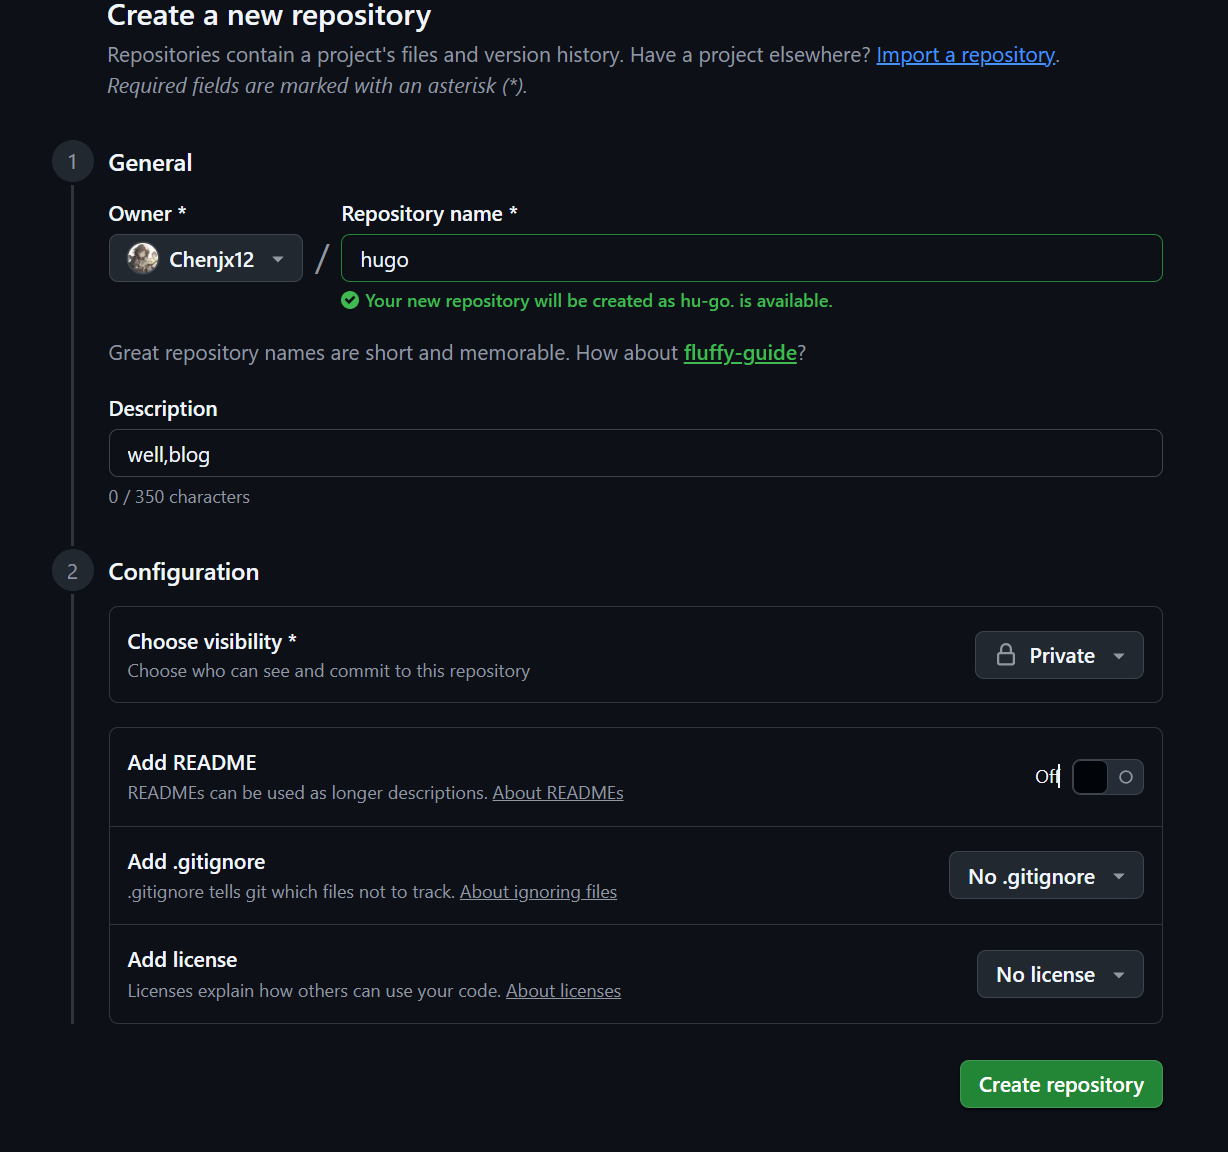
copy这玩意在本地git关联
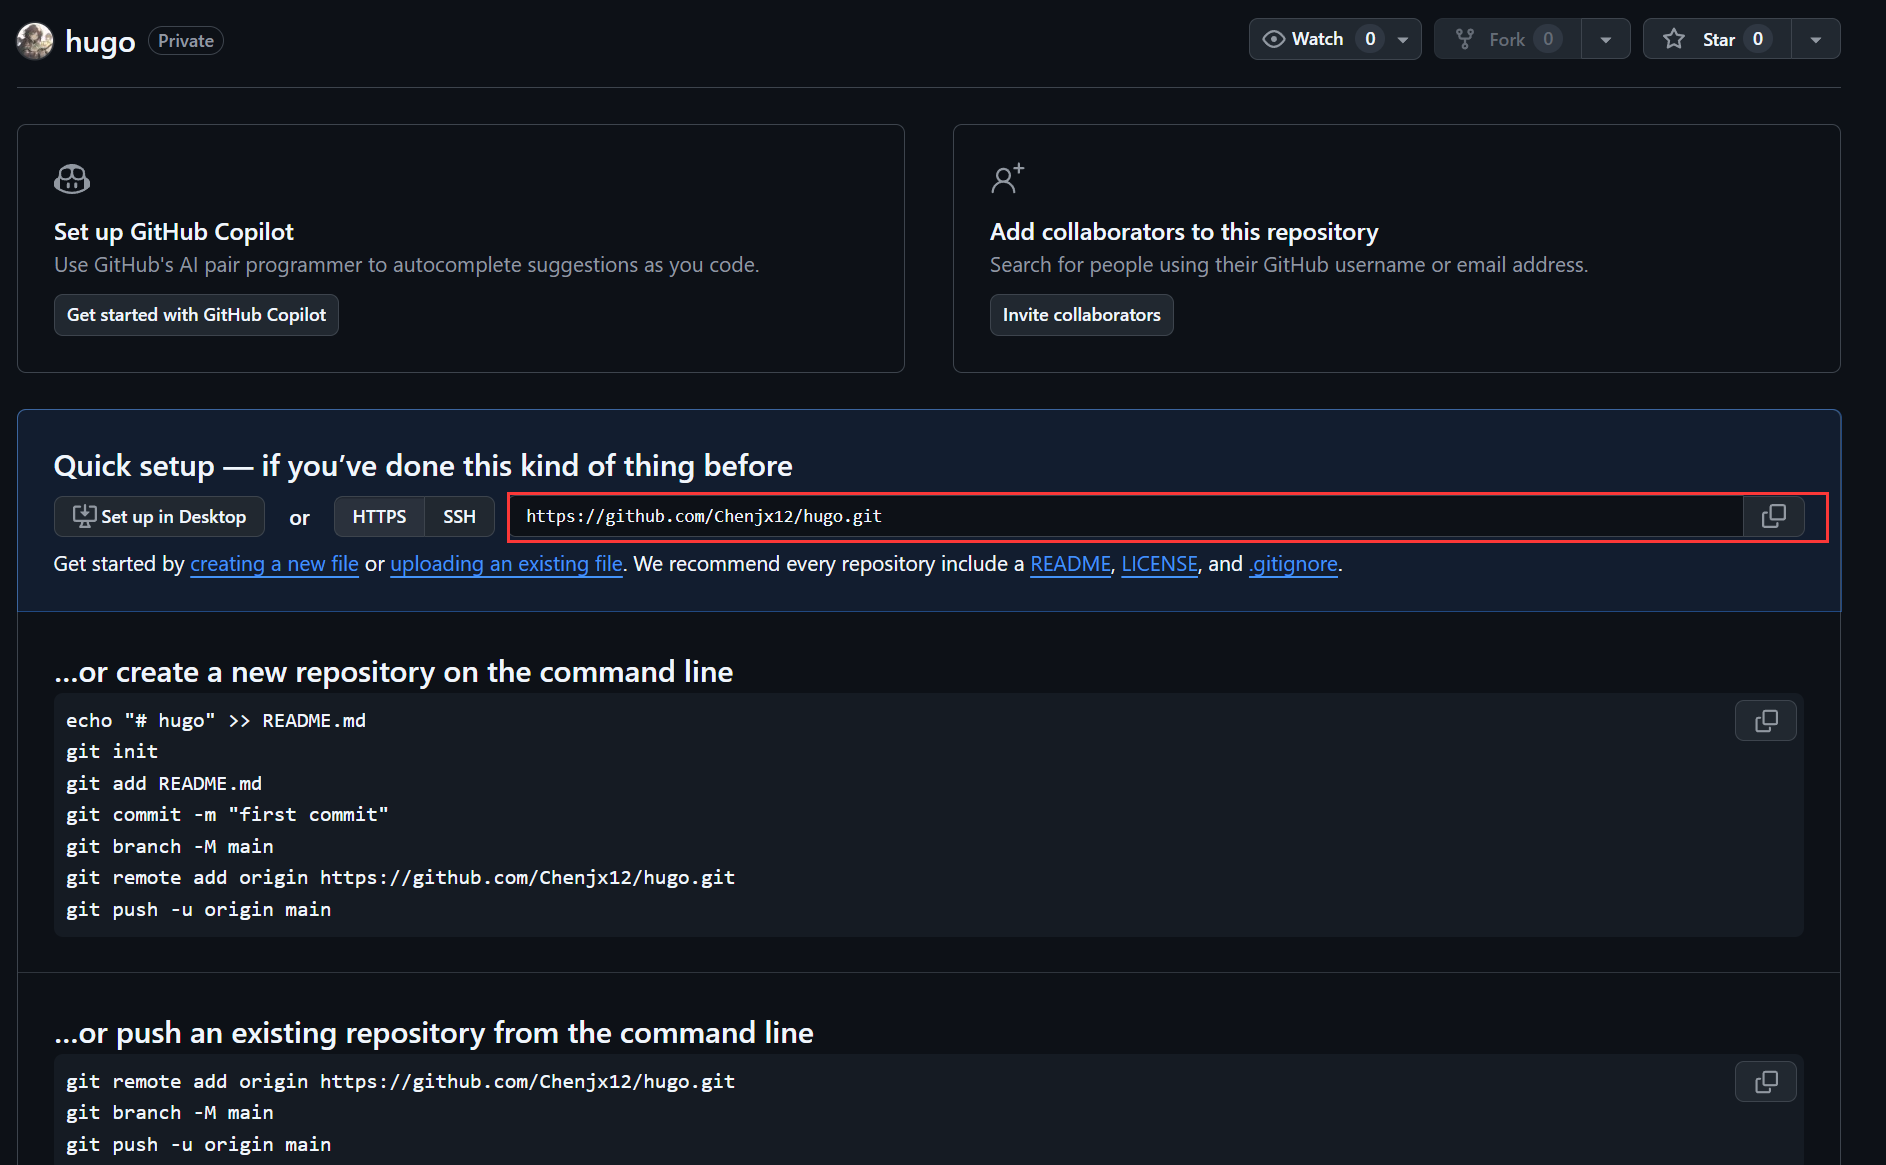
同步关联
本地初始化git,并且关联到github仓库
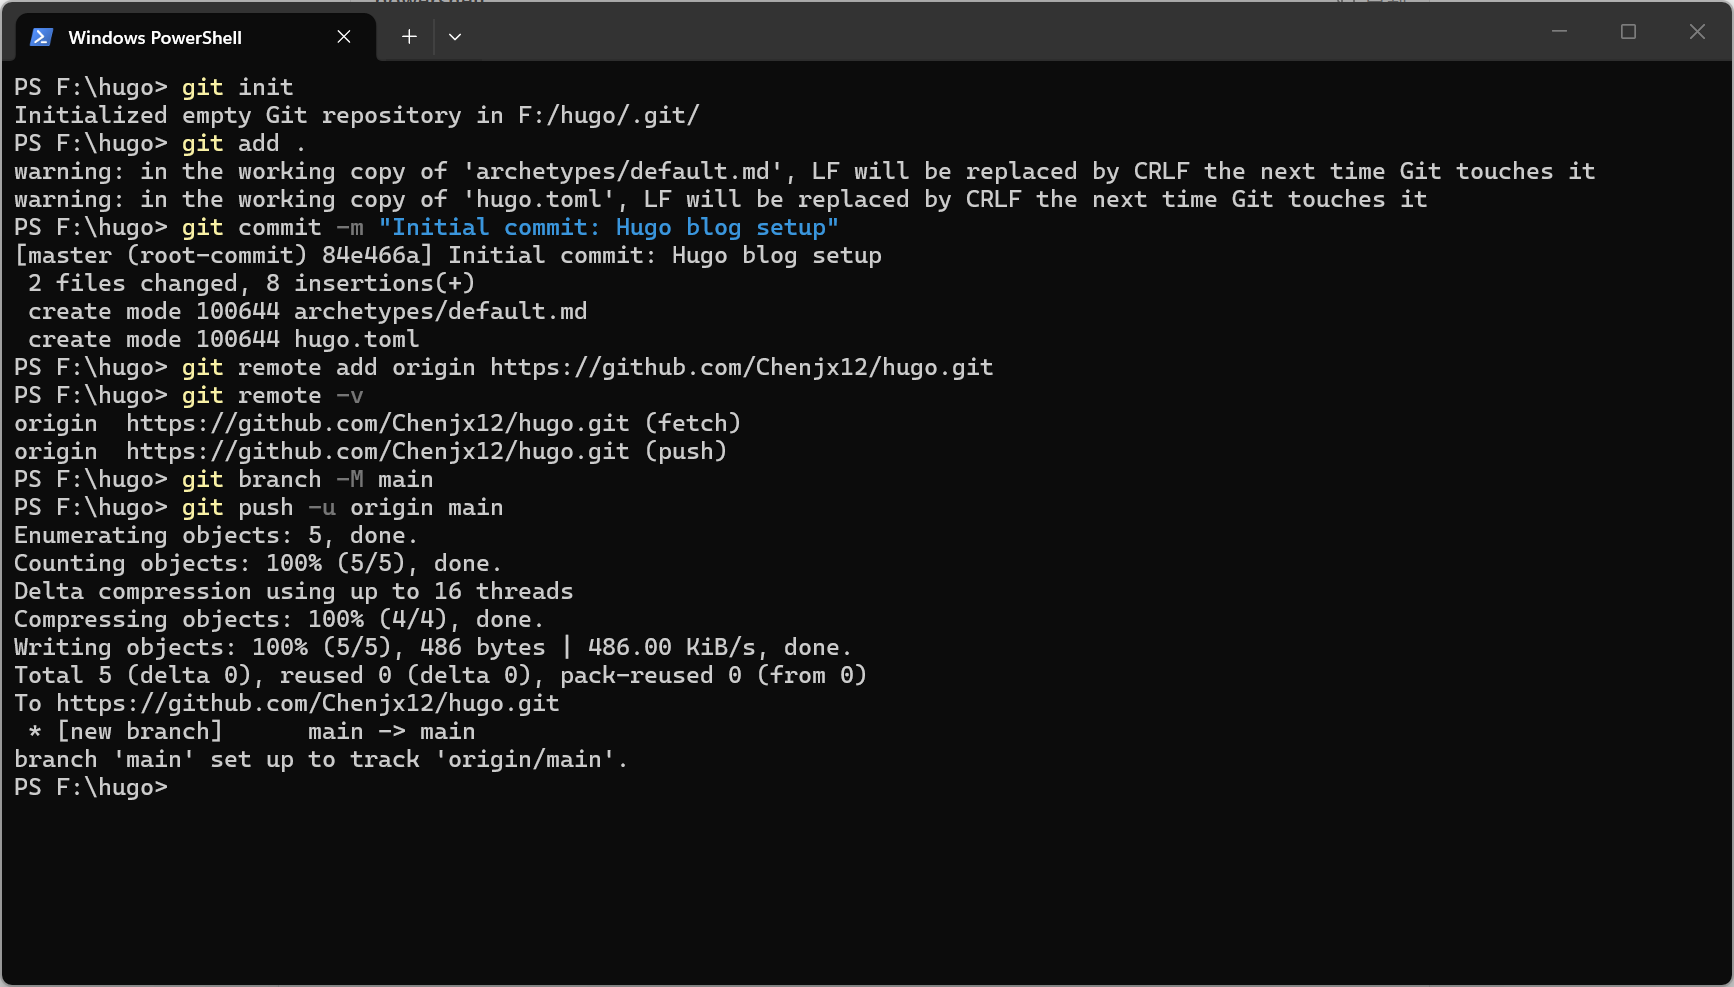
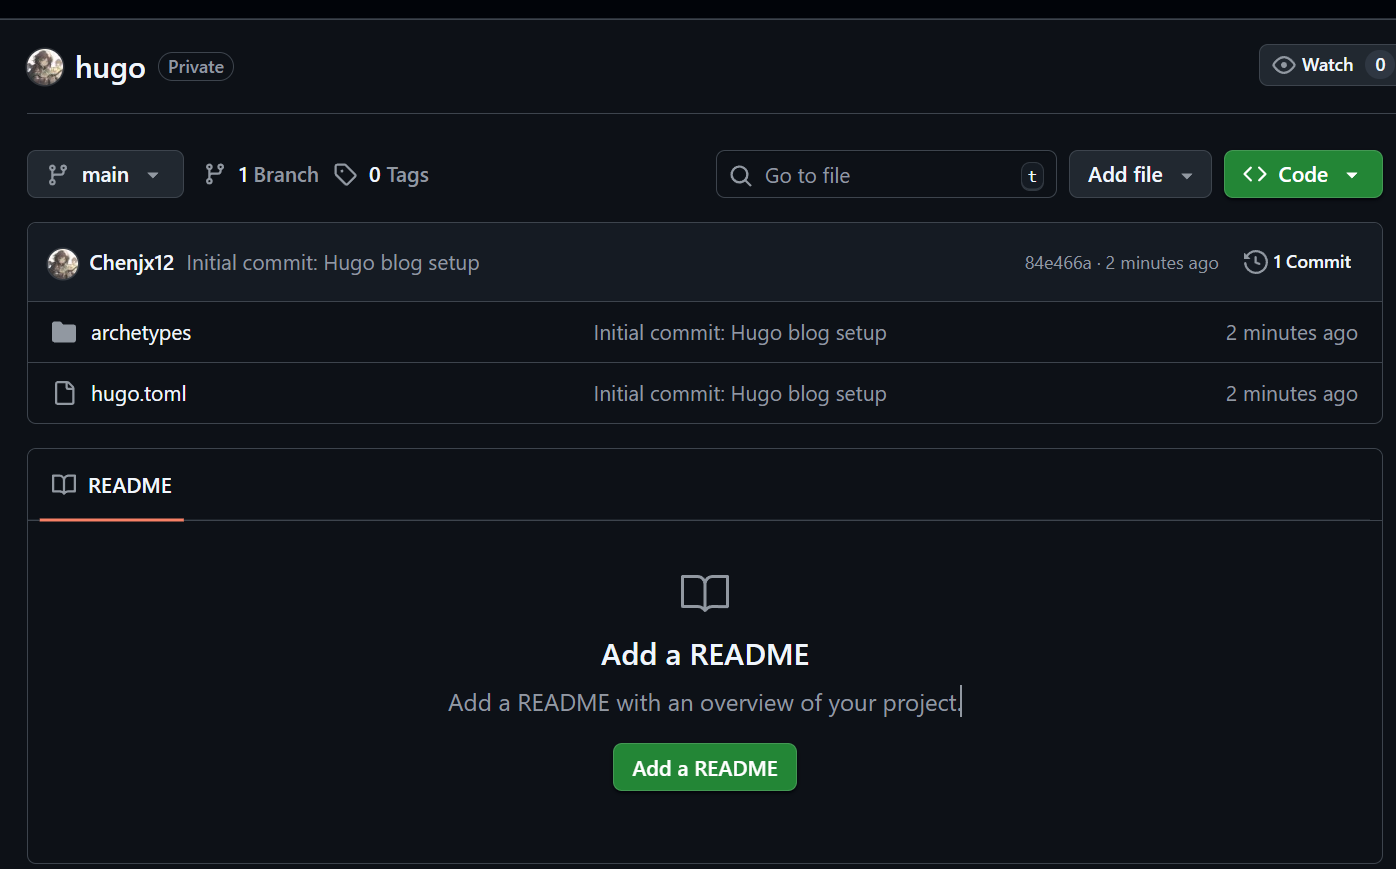
well,可以看到仓库中已经有推送的了
主题添加
会发现少了很多目录,这是因为git不推空目录,给hugo添加一下主题和第一篇文章,让git能把所有目录都推上去
git submodule add --depth=1 https://github.com/adityatelange/hugo-PaperMod.git themes/PaperMod
echo "theme = 'PaperMod'" >> hugo.toml
git add .
git commit -m "Add PaperMod theme and config"
git push
文章添加
再给自己一个hello world:
在content目录下新建/post/hello-world.md
---
title: "Hello World"
date: 2026-03-07T22:00:00+08:00
draft: false
tags: ["hugo", "博客"]
categories: ["技术"]
---

## 欢迎来到我的博客

这是我的第一篇 Hugo 文章!
然后让hugo帮我们处理一下:
hugo new content posts/hello-world.md
然后提交:
git add content/
git commit -m "Add first post: hello-world"
git push
站点预览
在hugo目录下,powershell中输入:
hugo server -D
你会看到一长串的输出,以及一个本地的端口
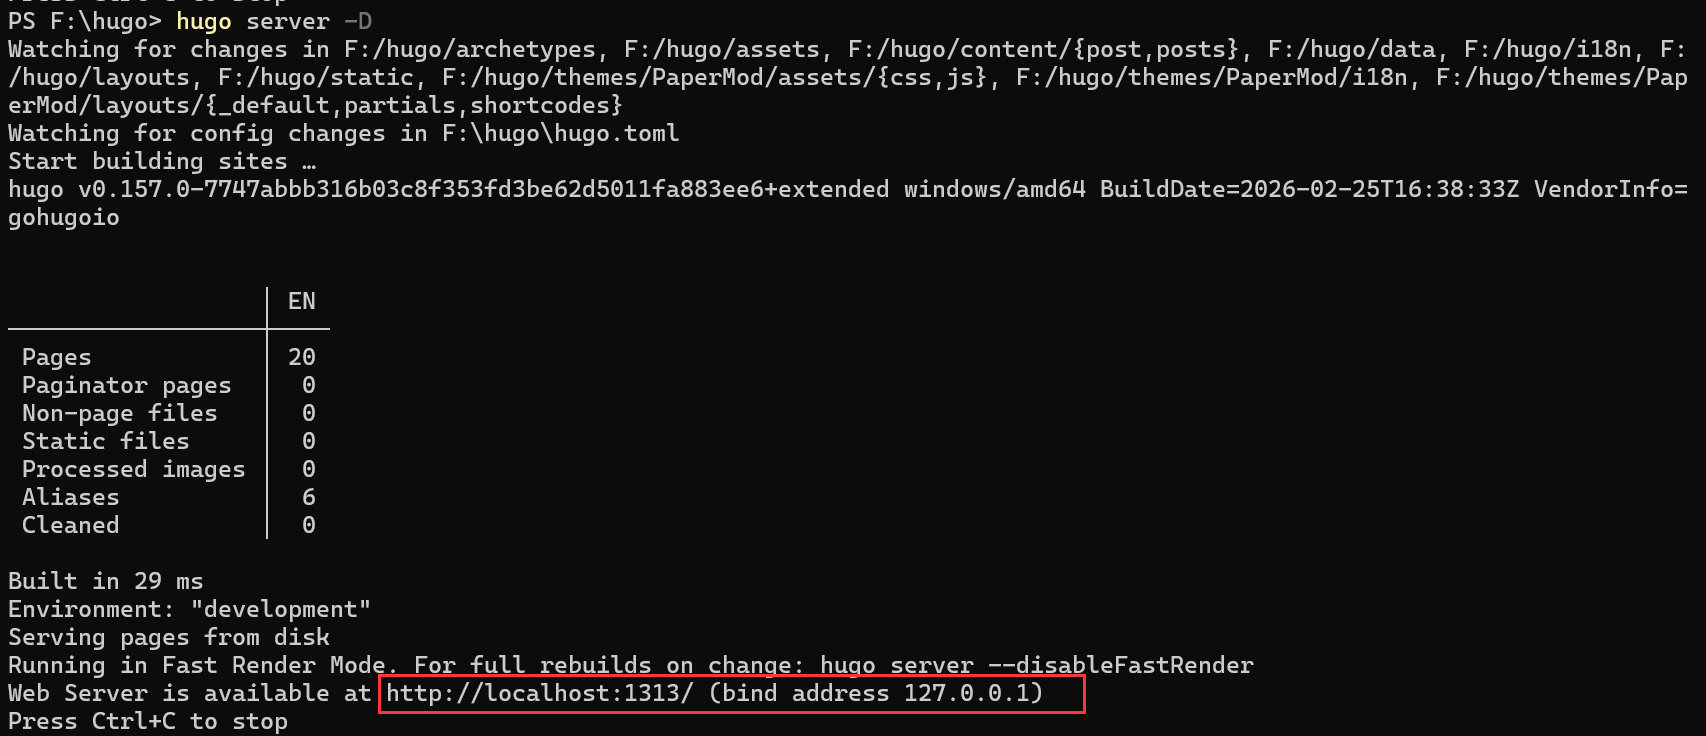
浏览器访问它,你可以看到默认站点界面
GitHub Pages
一样的啊,去GitHub创建一个仓库,仓库名就是你GitHub用户名+.gitbub.io,公开的
然后咱在本地的hugo目录下创建一下GitHub的workflow
mkdir .github\workflows
因为需要自动CI/CD的话咱还需要deploy key,这里直接本地生成一个
ssh-keygen -t rsa -b 4096 -C "github-actions-deploy" -f $env:USERPROFILE\.ssh\gh-pages-deploy
去GitHub仓库的Setting -> Security -> deploy key里填写title(随便写)和刚刚生成的pub
记得勾选Allow write access,然后add key
再去hugo仓库中添加私钥Setting -> Security -> Secret and Variable -> Action -> New repository secret
填好私钥和名字,然后add secret
自己填好下面的参数(仓库名称和deploy key名称),直接复制到powershell中执行即可:
@'
name: Deploy to GitHub Pages

on:
  push:
    branches: [main]
  workflow_dispatch:

jobs:
  build-and-deploy:
    runs-on: ubuntu-latest
    steps:
      - name: Checkout source
        uses: actions/checkout@v4
        with:
          submodules: true

      - name: Setup Hugo
        uses: peaceiris/actions-hugo@v2
        with:
          hugo-version: 'latest'
          extended: true

      - name: Build
        run: hugo --minify

      - name: Deploy to <yourname.github.io>
        uses: peaceiris/actions-gh-pages@v3
        with:
          deploy_key: ${{ secrets.PAGES_DEPLOY_KEY }}
          external_repository: <yourname.github.io>
          publish_branch: main
          publish_dir: ./public
'@ | Out-File -Encoding utf8 .github\workflows\deploy.yml
测试推送
git add .github/workflows/deploy.yml
git commit -m "Update deploy to external repository"
git push
看看hugo仓库的workflow action
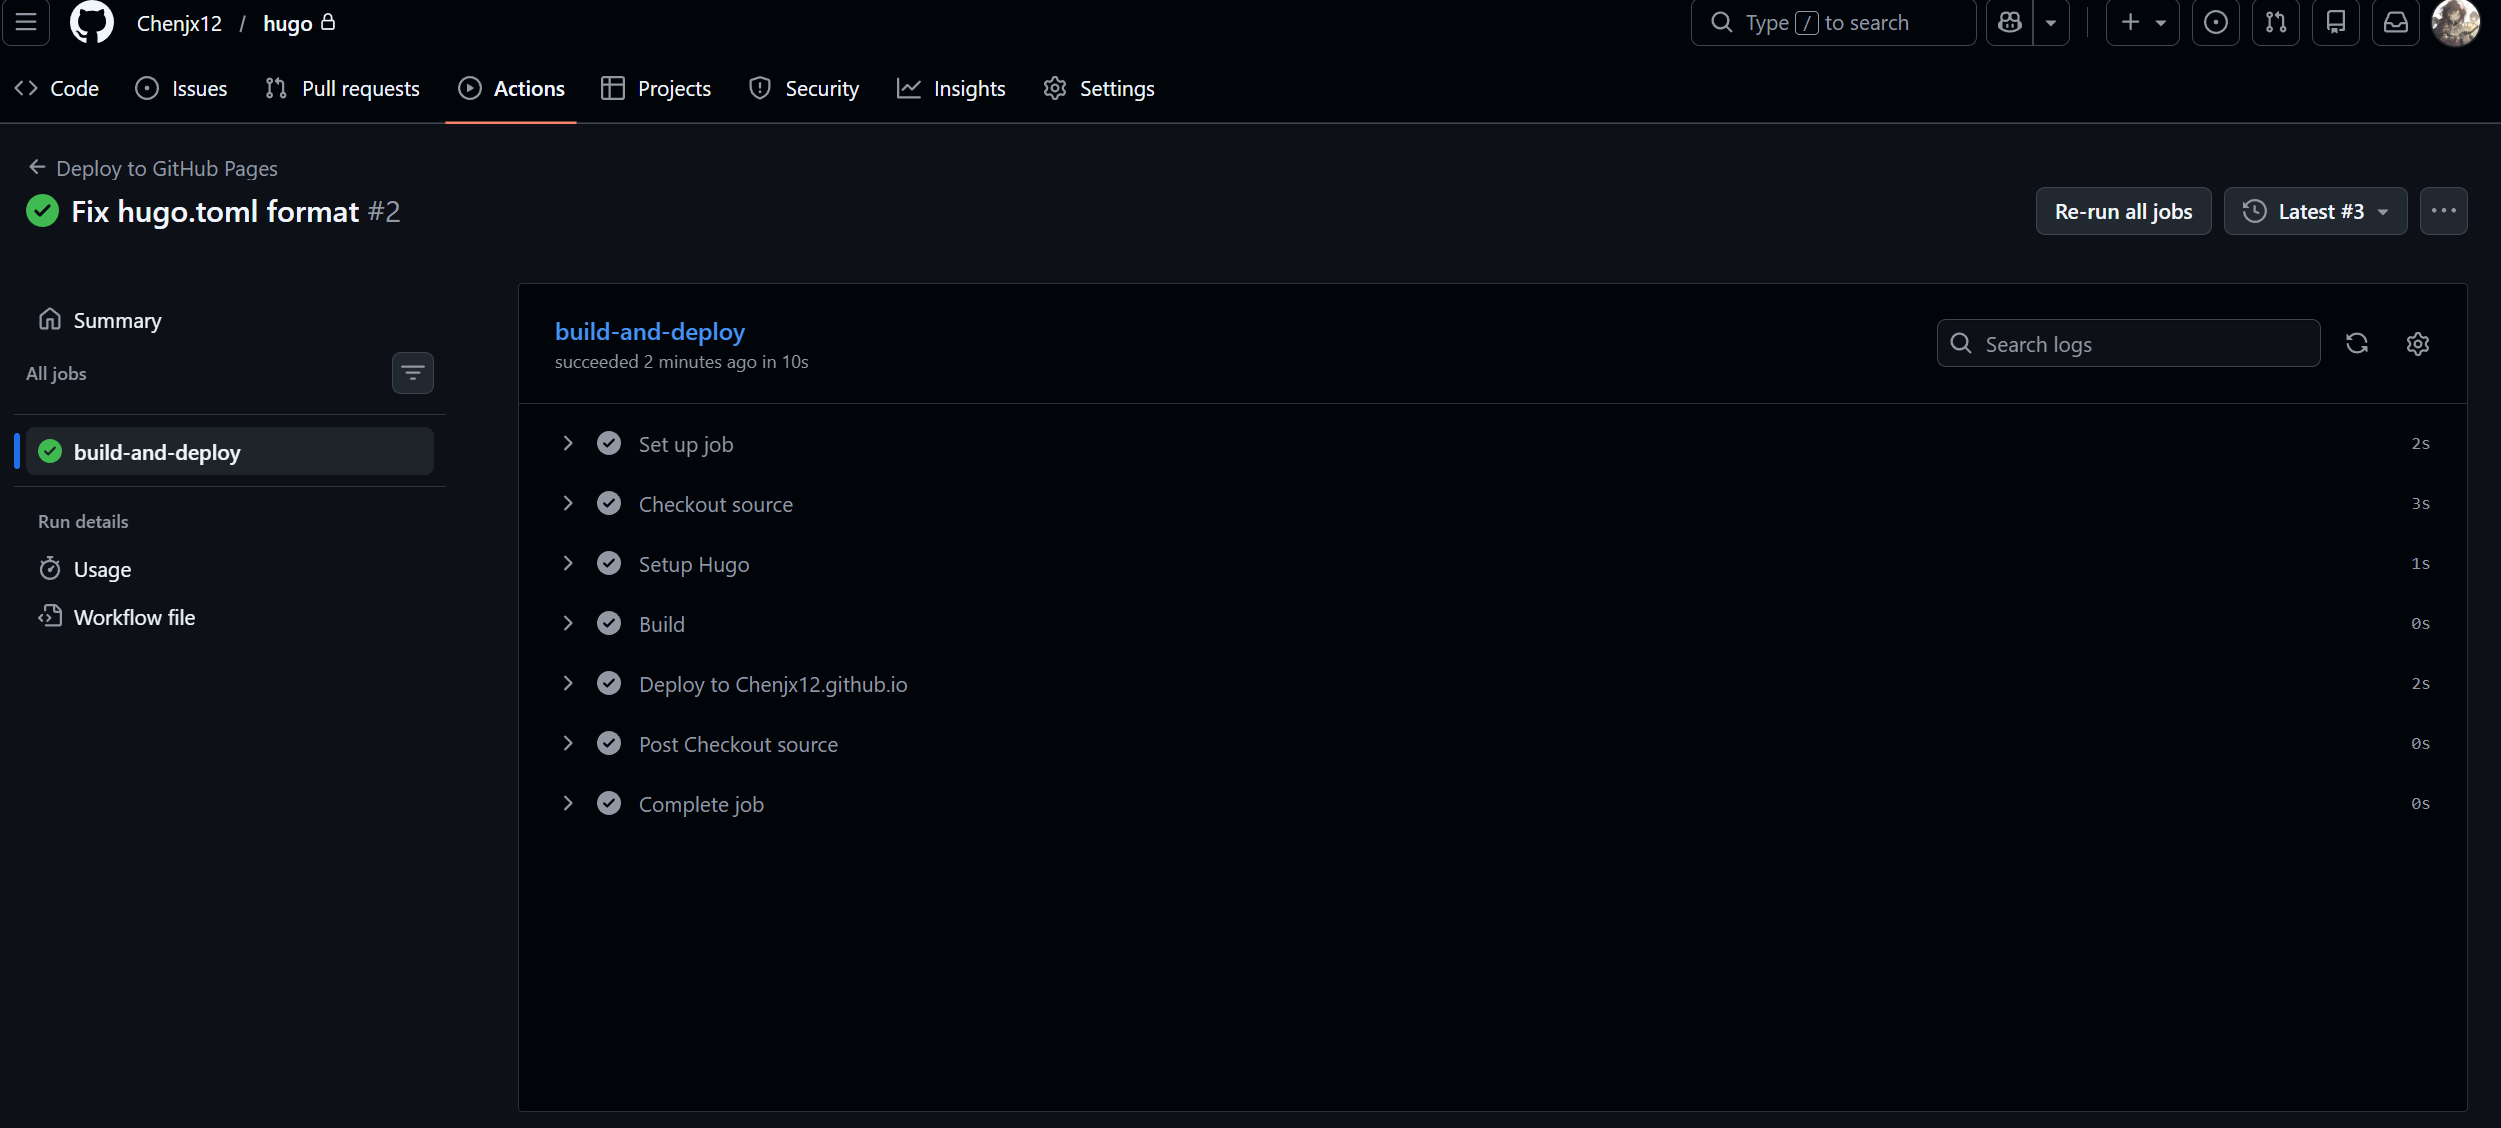
显示成功,直接去访问你的网站
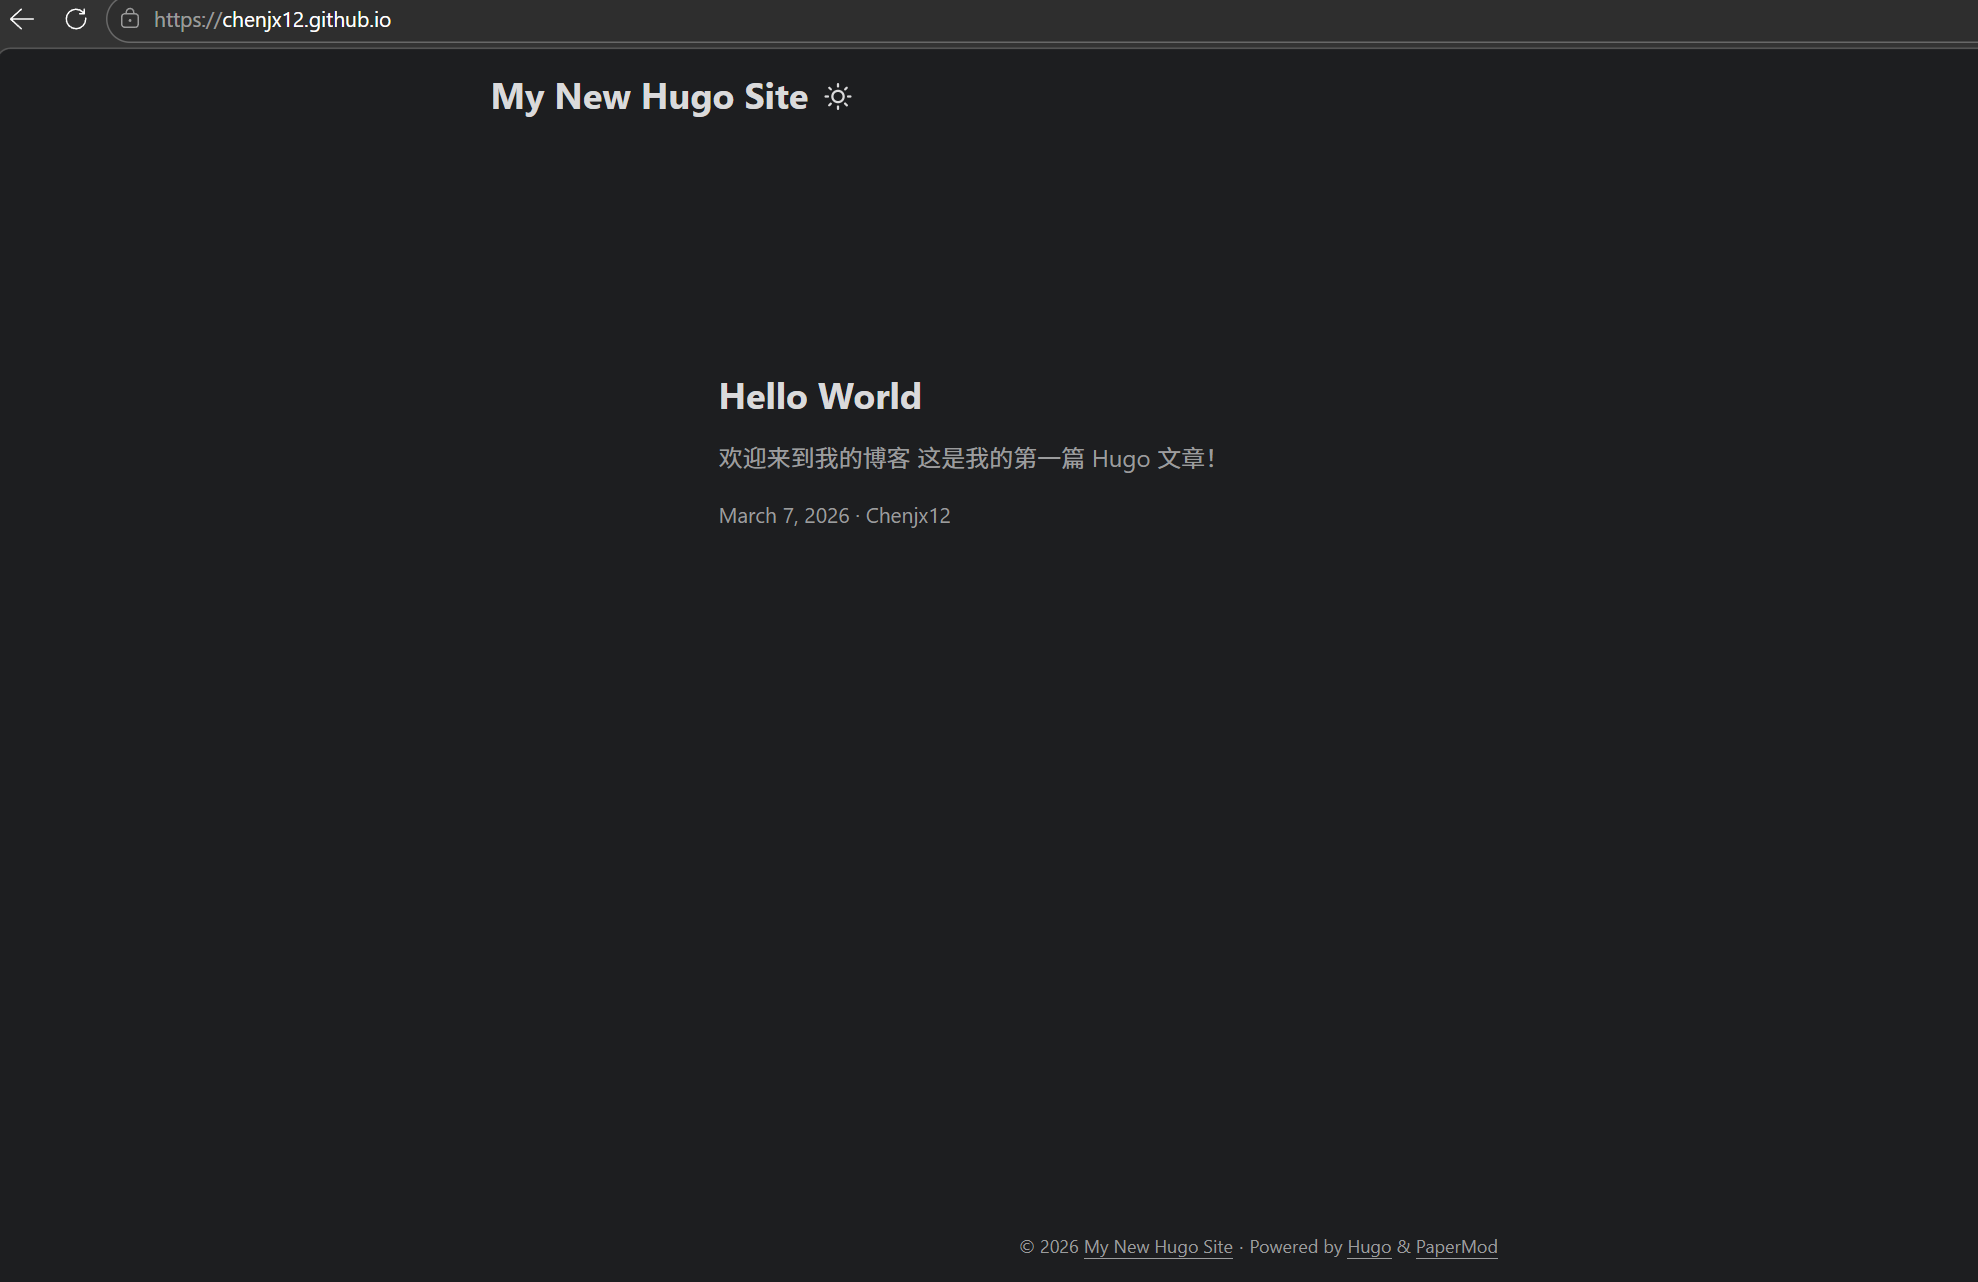
到这里GitHub pages的配置就结束了
云服务器
既然看到这里那就是对云服务器有想法了
首先你需要一台可以公网访问即拥有公网ip的服务器,
在上面更新一下软件包,安装nginx反代理
# 更新系统
apt update && apt upgrade -y

# 安装 Nginx
apt install nginx -y

# 启动并设置开机自启
systemctl start nginx
systemctl enable nginx

# 检查状态
systemctl status nginx
创建一个专门存放网页的目录
# 创建目录
mkdir -p /var/www/html

# 设置权限(让部署用户有写入权限)
chown -R root:root /var/www/html
chmod 755 /var/www/html
修改nginx的配置文件
vim /etc/nginx/sites-available/default
替换如下
server {
    listen 80;
    listen [::]:80;

    server_name _;

    root /var/www/html;
    index index.html index.htm;

    location / {
        try_files $uri $uri/ =404;
    }

    # Gzip 压缩
    gzip on;
    gzip_types text/plain text/css application/json application/javascript text/xml;
}
对nginx进行检查和重载
nginx -t
systemctl reload nginx
别忘了在云服务厂家的管理平台上对http的80端口进行放生
嗯,有域名的师傅可以选择用https,更安全;当然,也可以自签名,
使用https也需要更改相应的nginx配置,监听端口80和443啊,80重定向到443之类的,不过具体步骤这里就不多赘述了。
好的,那么服务器配置完成了。
那么还记得上面GitHub pages的yaml文件吗?
先把上面的deploy.yml修改一下下,为双部署做准备:
name: Deploy to GitHub Pages and Server

on:
  push:
    branches: [main]
  workflow_dispatch:

jobs:
  build-and-deploy:
    runs-on: ubuntu-latest
    steps:
      - name: Checkout source
        uses: actions/checkout@v4
        with:
          submodules: true

      - name: Setup Hugo
        uses: peaceiris/actions-hugo@v2
        with:
          hugo-version: 'latest'
          extended: true

      - name: Build
        run: hugo --minify

      # 部署到 GitHub Pages
      - name: Deploy to GitHub Pages
        uses: peaceiris/actions-gh-pages@v3
        with:
          deploy_key: ${{ secrets.PAGES_DEPLOY_KEY }}
          # 修改:你的用户名/用户名.github.io
          external_repository: <USERNAME>/<USERNAME>.github.io
          publish_branch: main
          publish_dir: ./public

      # 部署到云服务器(可选)
      - name: Deploy to Server
        uses: appleboy/scp-action@v0.1.7
        with:
          # 在仓库 Settings -> Secrets 中配置以下变量:
          host: ${{ secrets.SERVER_HOST }}          # 服务器IP或域名
          username: ${{ secrets.SERVER_USER }}      # 登录用户名
          key: ${{ secrets.SERVER_SSH_KEY }}        # SSH私钥
          passphrase: ${{ secrets.SSH_PASSPHRASE }} # pass phrase(如果有的话)
          port: ${{ secrets.SERVER_PORT }}          # SSH端口,默认22
          source: "public/*"
          target: "/var/www/html/"
          strip_components: 1
          rm: true
因为我们的实际操作仓库还是hugo
所以我们接着去hugo仓库的secret里添加环境变量:ip,用户,私钥(pass phrase如果有的话),端口
实际上一整套流程下来是非常快的,整个workflow也才33s,也就是说本地处理好push上去后半分钟就能同步啦!
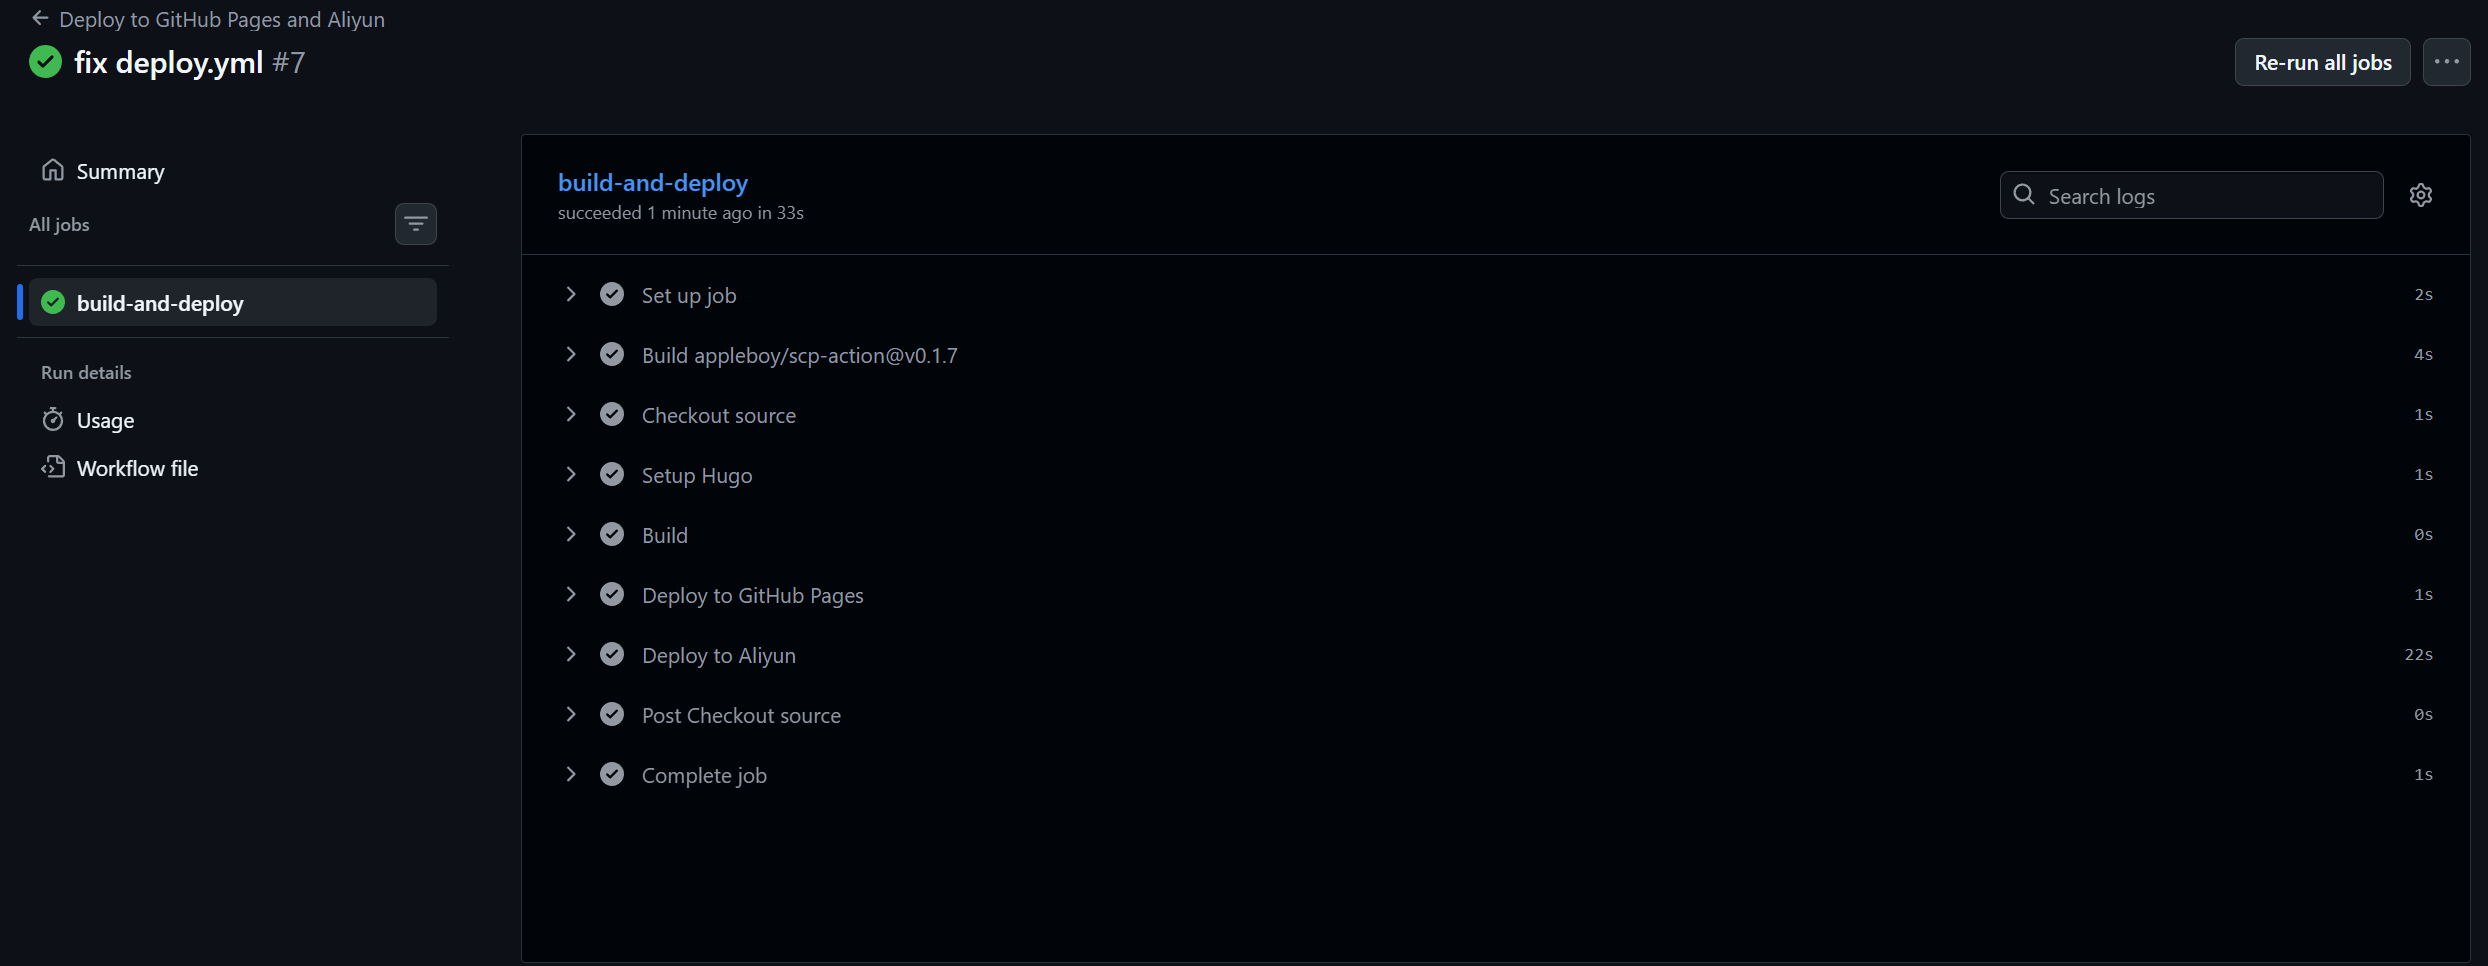
看到这里那么你的博客也成型了,添加更多文章,添加主题美化,这些功能就留给各位师傅自己探寻了。